 TTime
TTimeVolcengine OCR
Volcengine OCR can extract text from images, and this guide explains how to activate the service and configure it in TTime
official website application address
Quota information As time goes by, the official website may change, this is for reference only, please refer to the official documents for details
Volcengine OCR - Official Documentation - Billing Overview
| Type | Free quota | Price beyond free quota | Requests per second |
|---|---|---|---|
| Multilingual OCR (free tier) | 5000 times | None | 1 time/second |
| Multilingual OCR (paid tier) | None | 0.015 RMB/time | 10 times/second |
| Text recognition (free tier) | 5000 times | None | 1 time/second |
| Text recognition (paid tier) | None | 0.005 RMB/time | 10 times/second |
Multilingual OCR supports more than 50 languages, including Chinese, English, Japanese, French, German, Russian, and Spanish, but its paid tier costs more than Text Recognition
Text Recognition supports Chinese, English, and mixed Chinese-English text, and its paid tier costs less than Multilingual OCR
note
If you have already configured Volcengine Translation, you can reuse the existing user and add OCR permissions -> View instructions
1. Register or log in
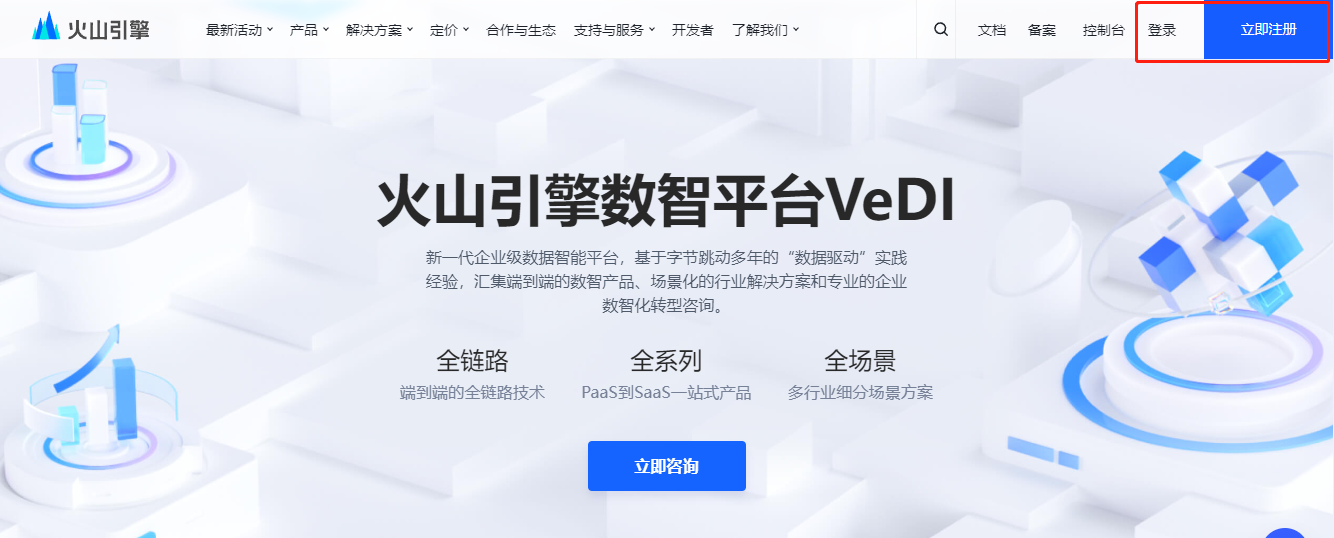
Click here to jump to login/register
If you already have an account, choose to log in, if not, register.
2.Real-name authentication
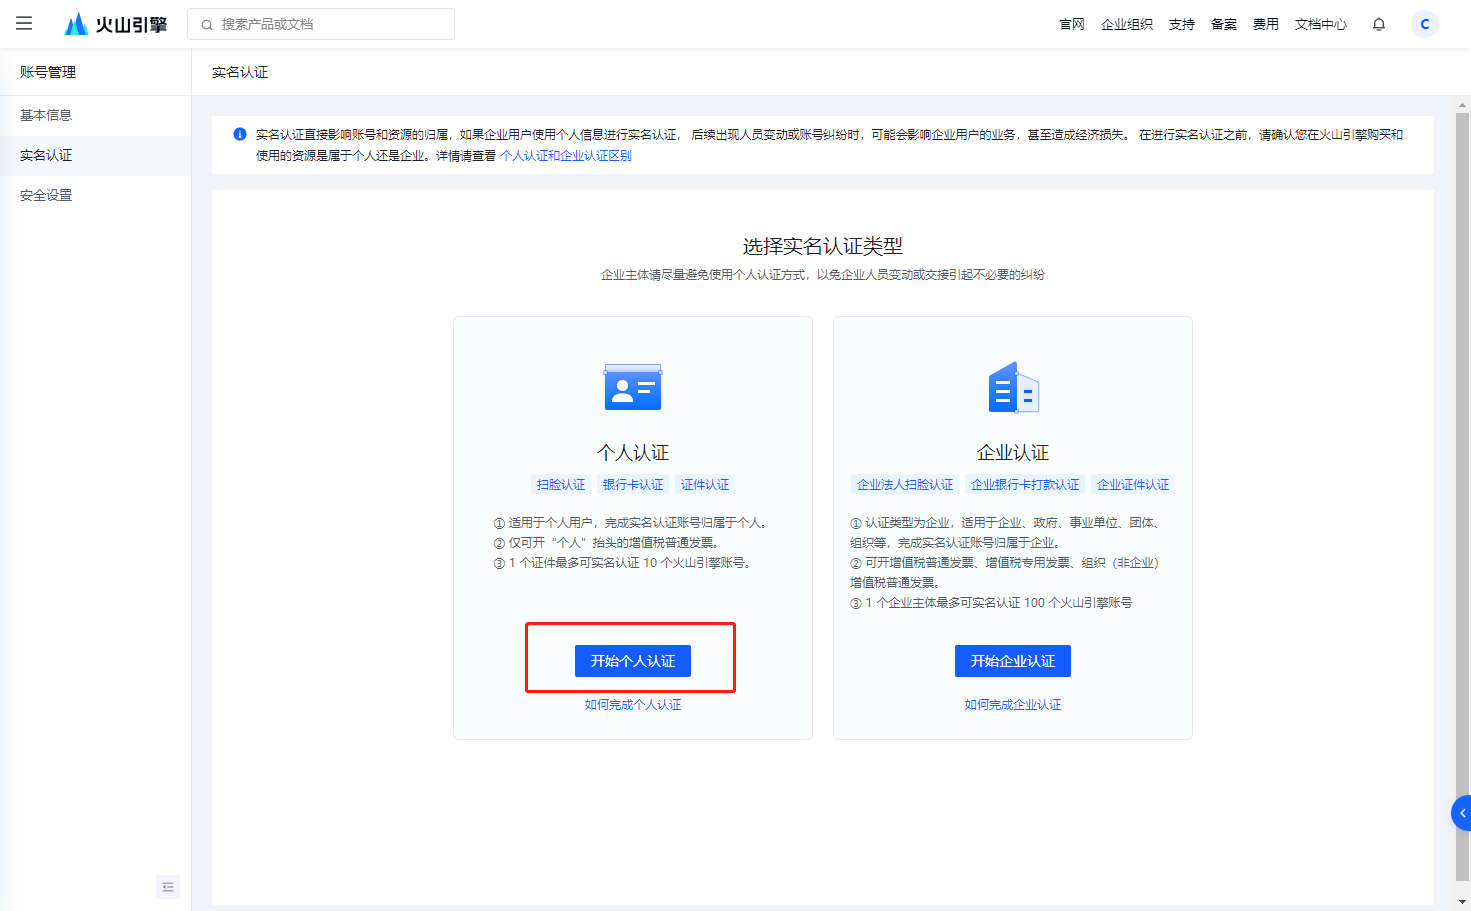
Click here to jump to the real-name authentication page
Then click Start Personal Authentication
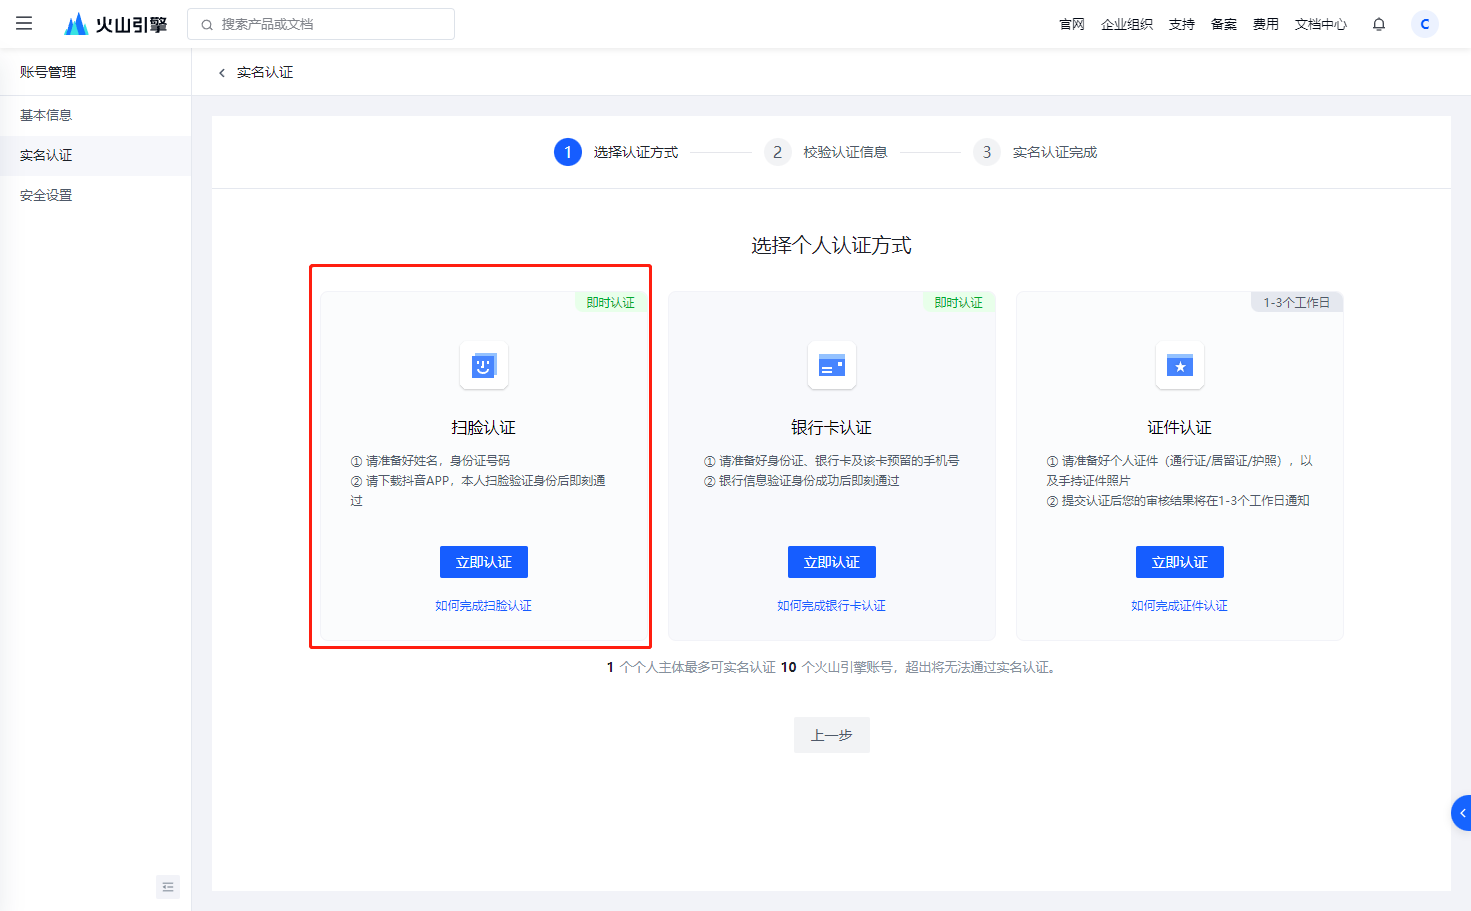
You can choose the authentication method yourself
What I use here is face scanning authentication
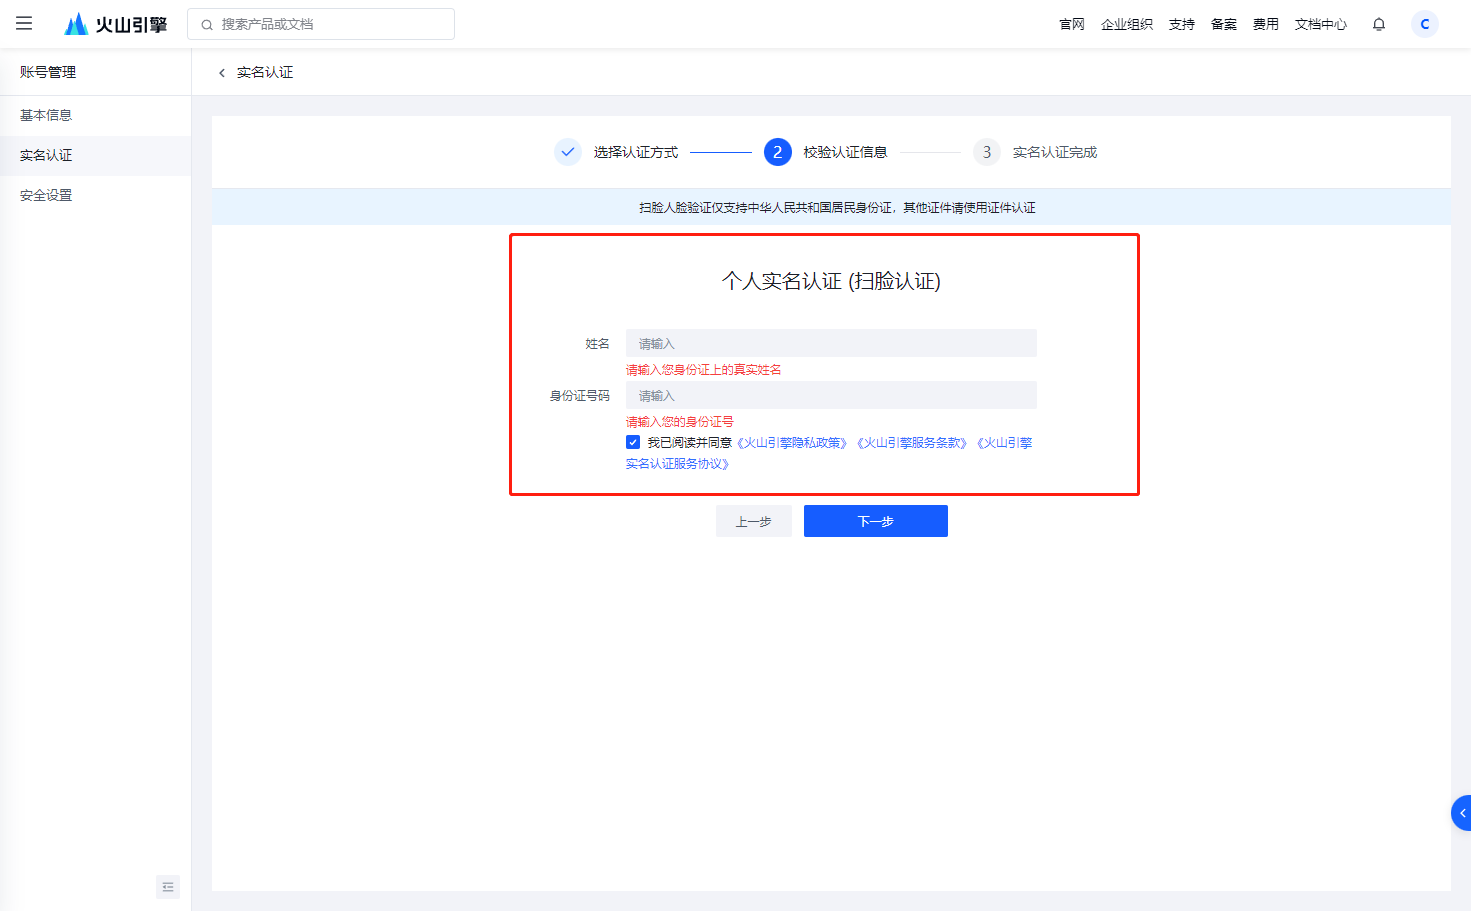
Then fill in the certified personal information first
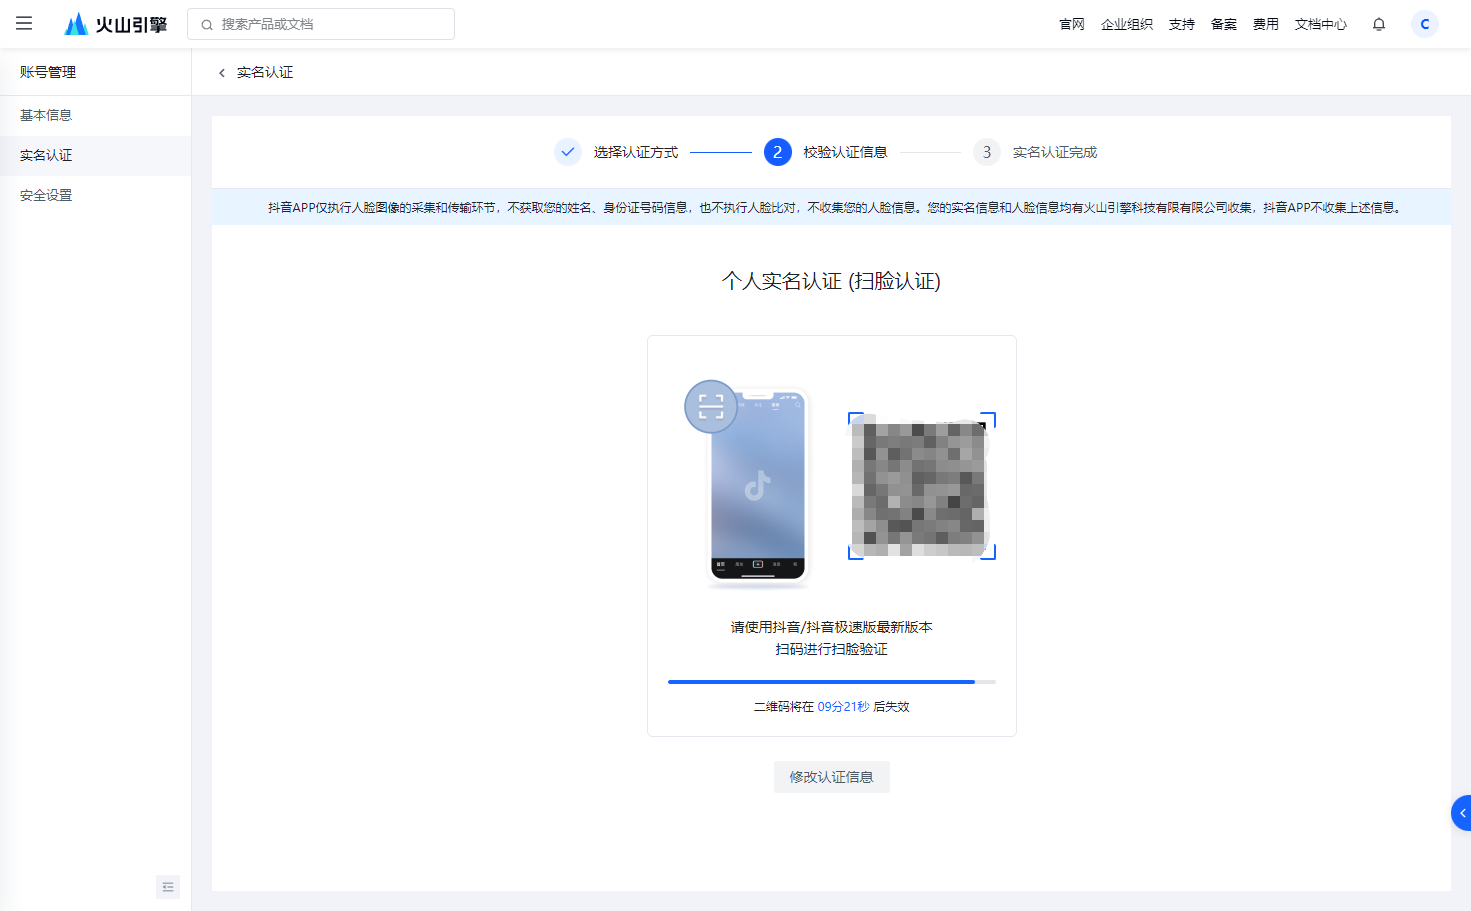
Open Douyin, scan the QR code and follow the prompts
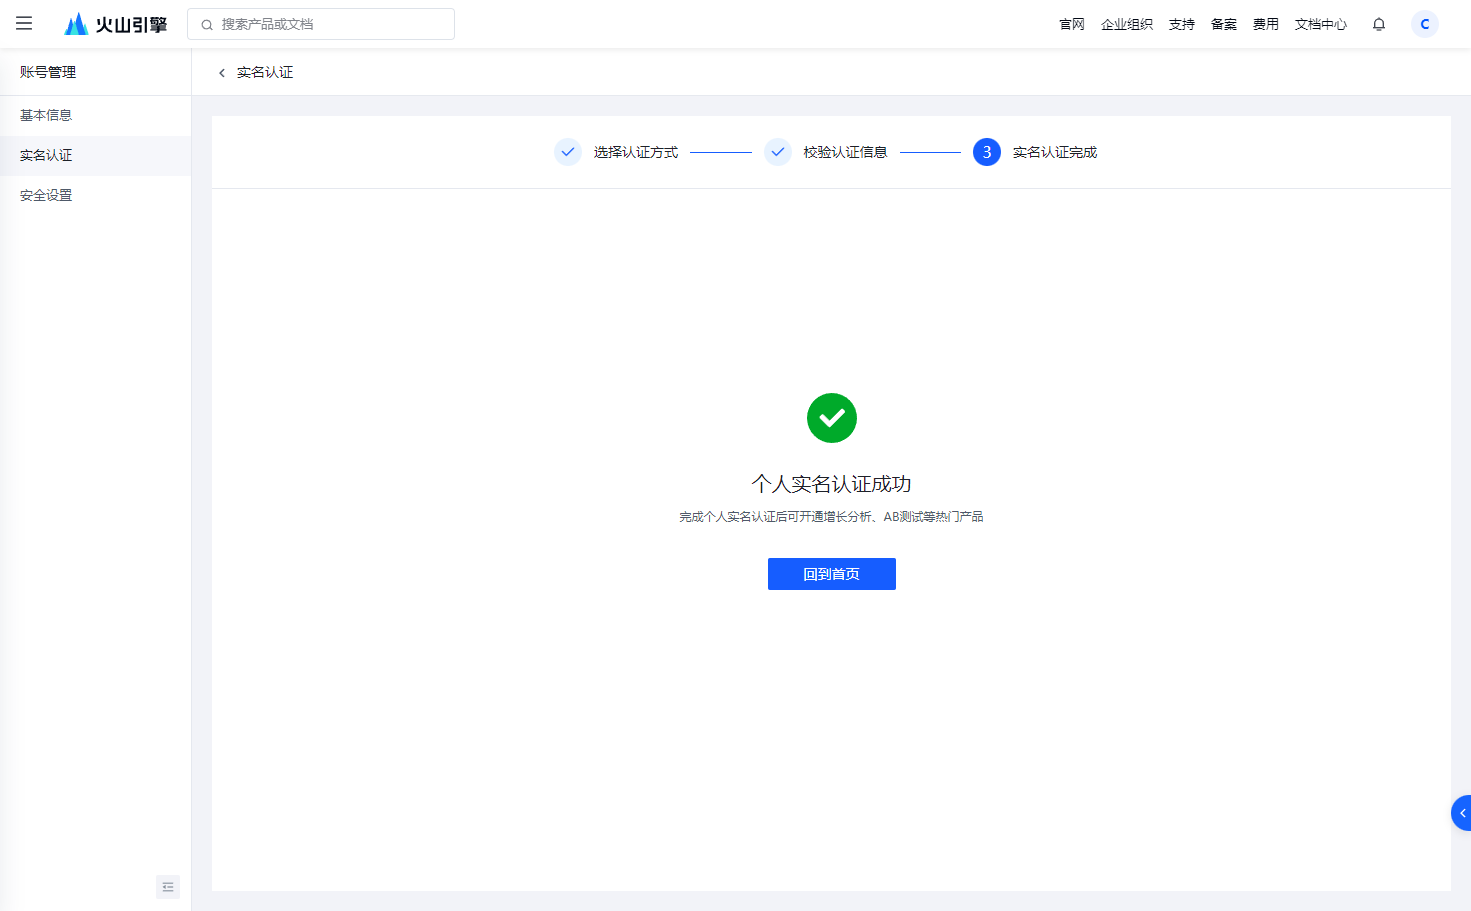
This page appears indicating that the authentication was successful.
3. Enable text recognition
Click here to jump to the activation page
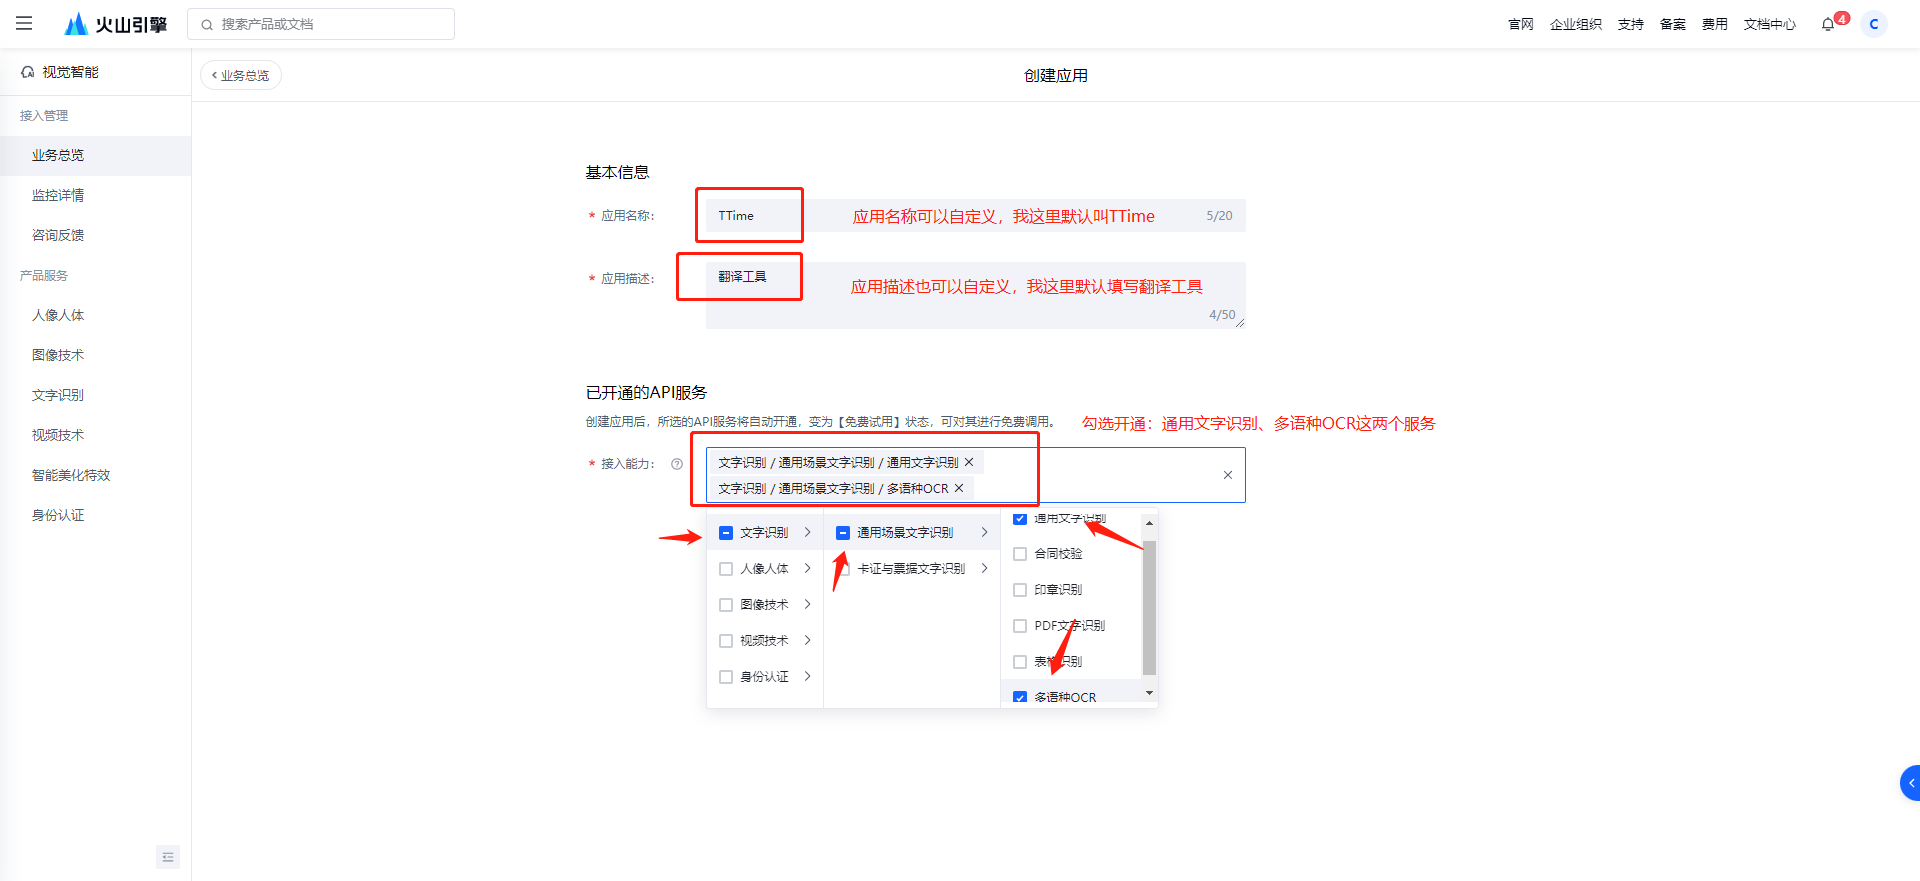
After entering, click Create Application
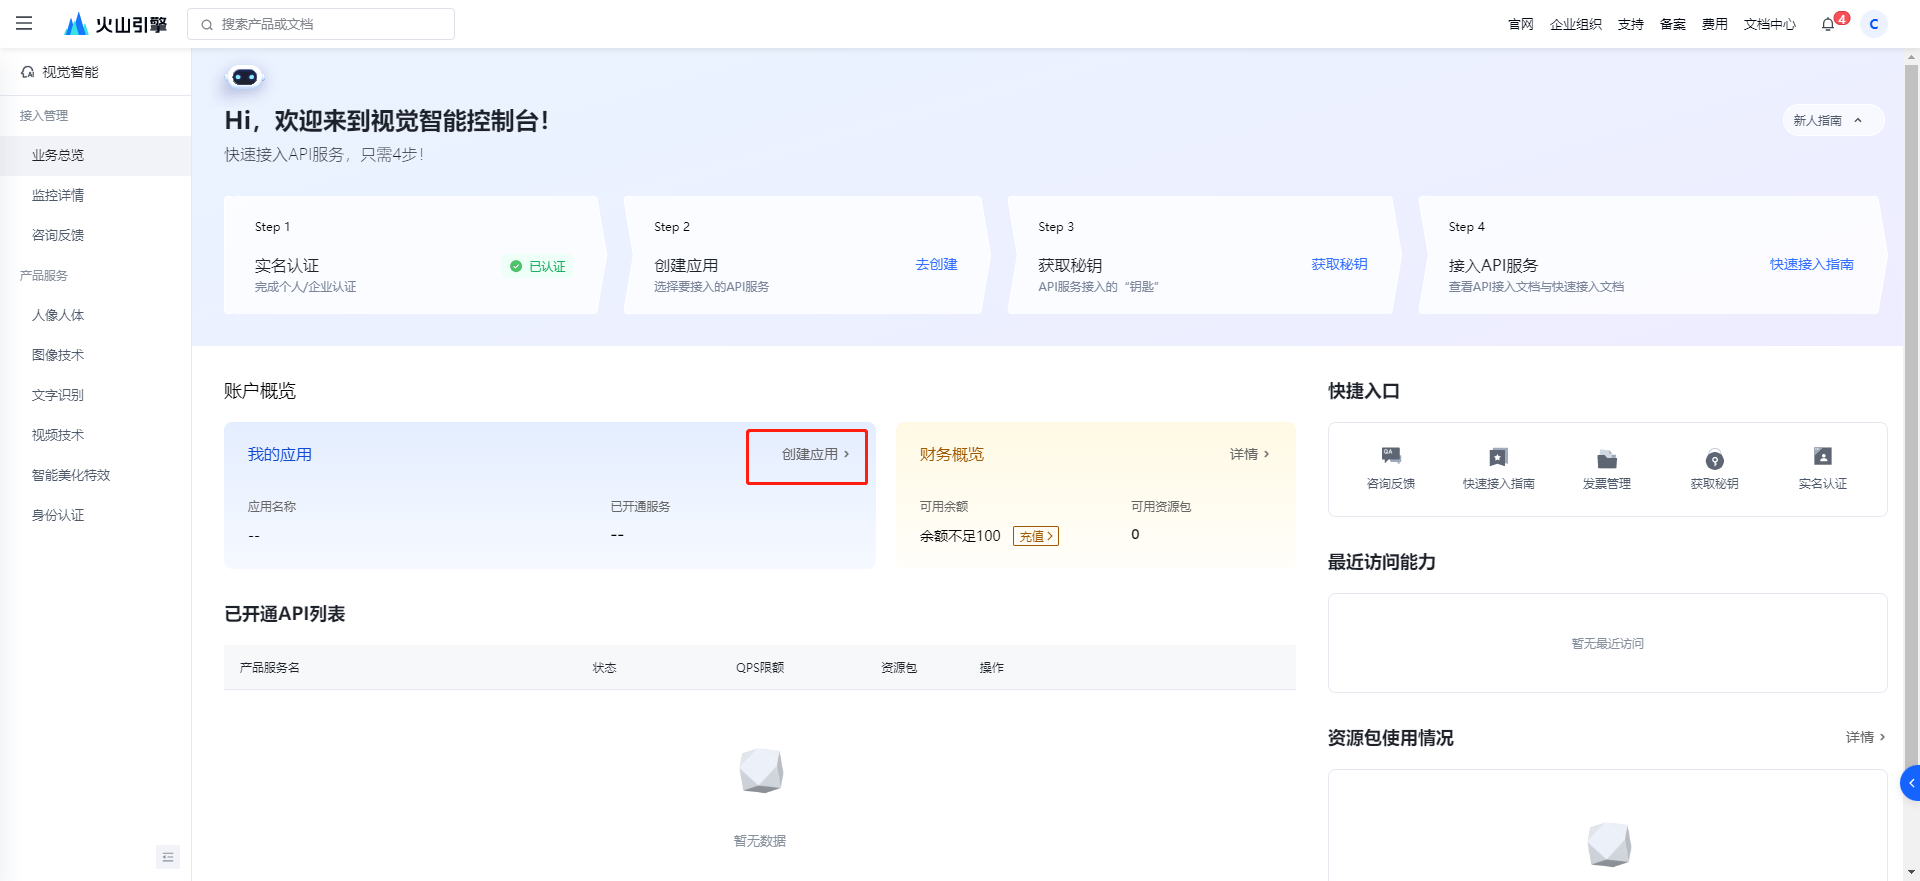
Choose according to the picture below
4. Get the secret key
Click here to jump to the user management page
Create a new user first
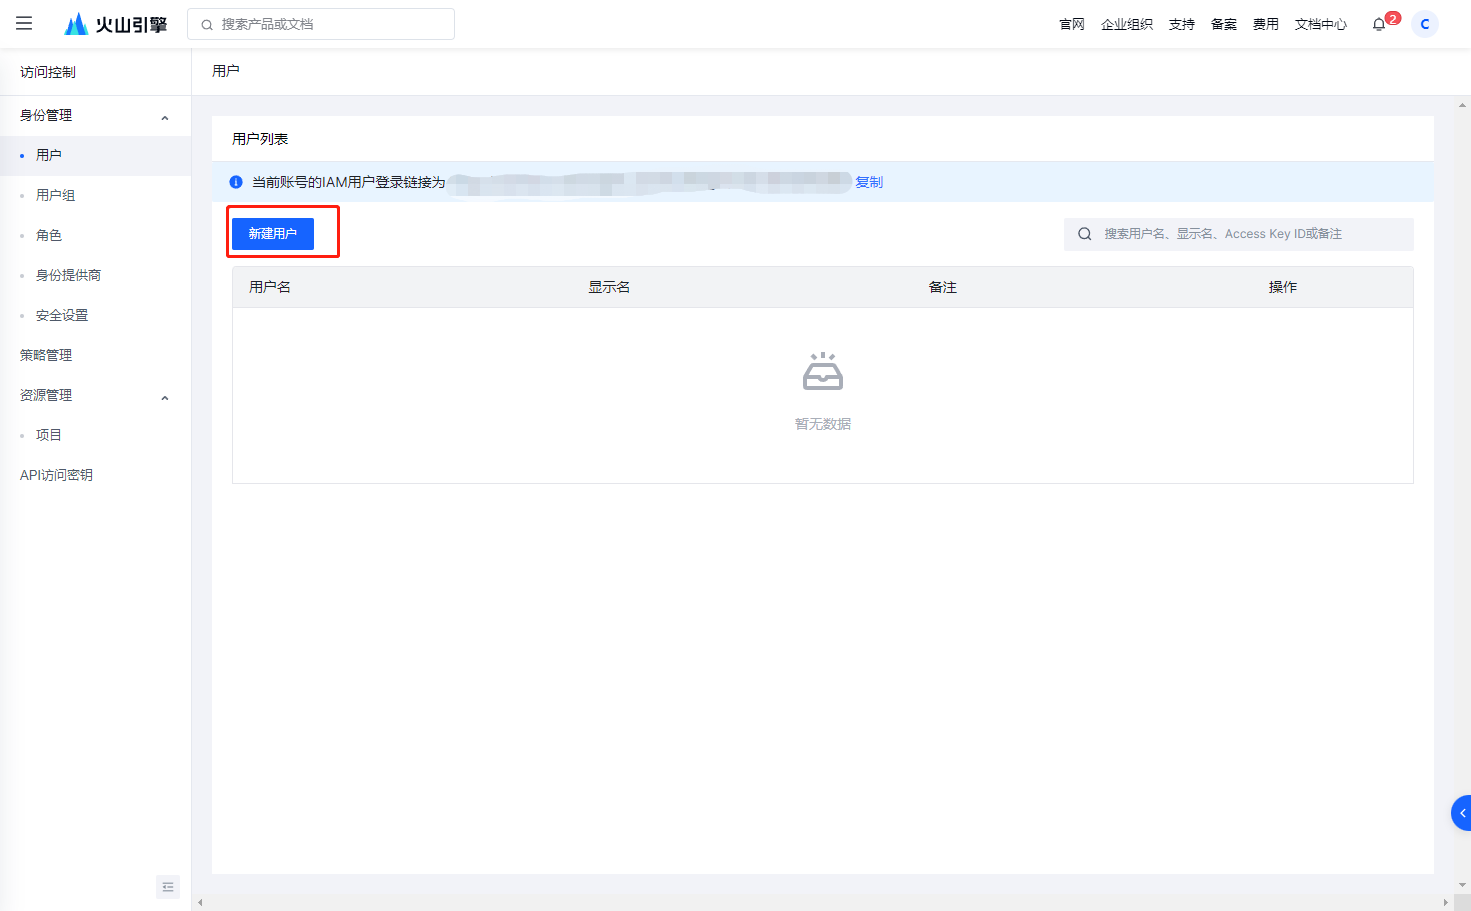
Select Create by username
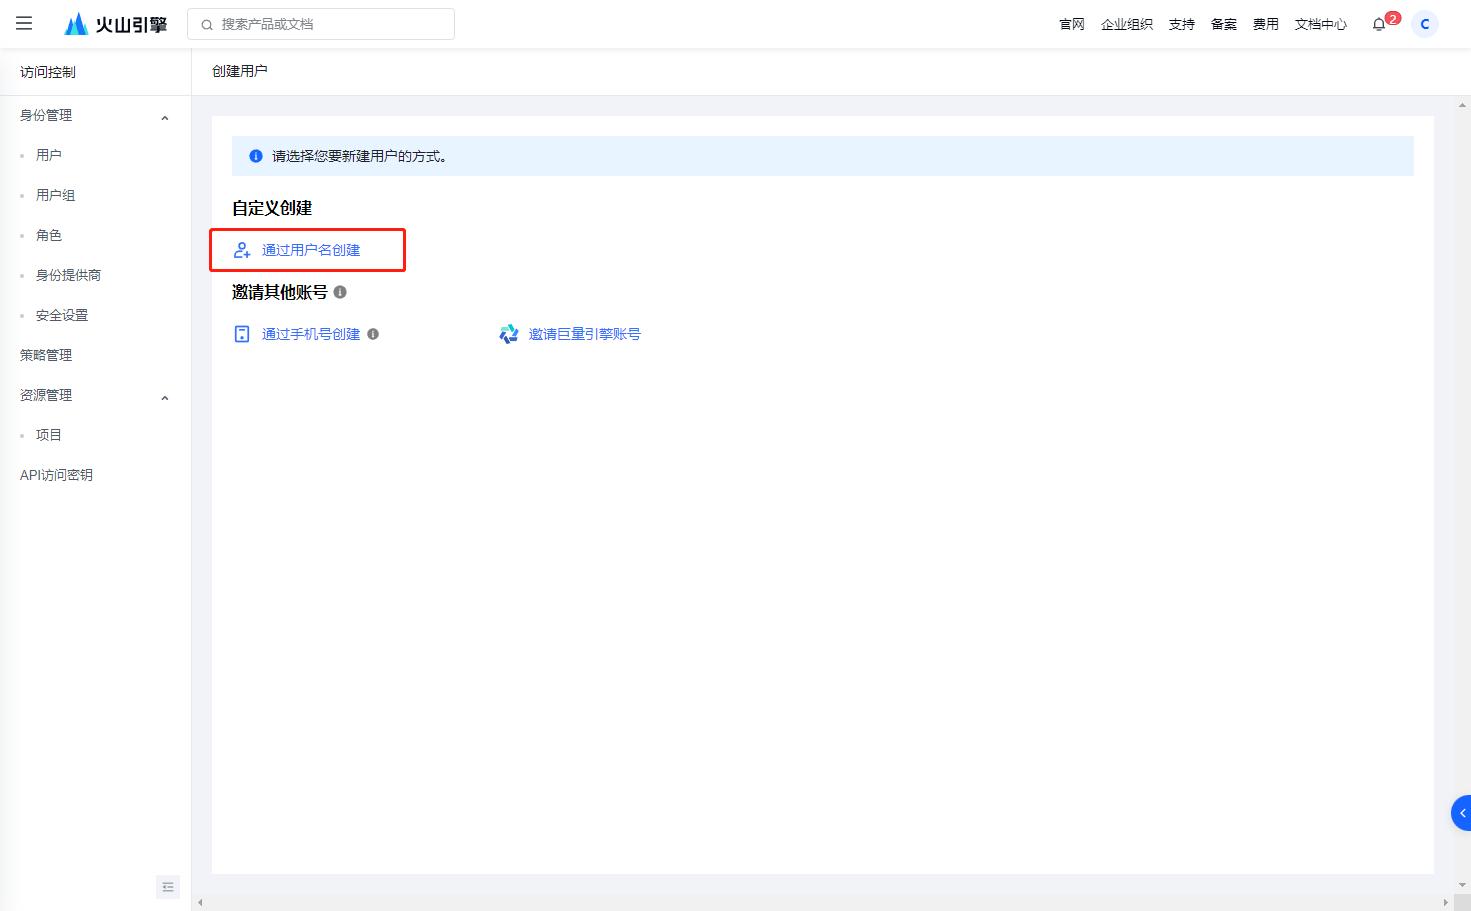
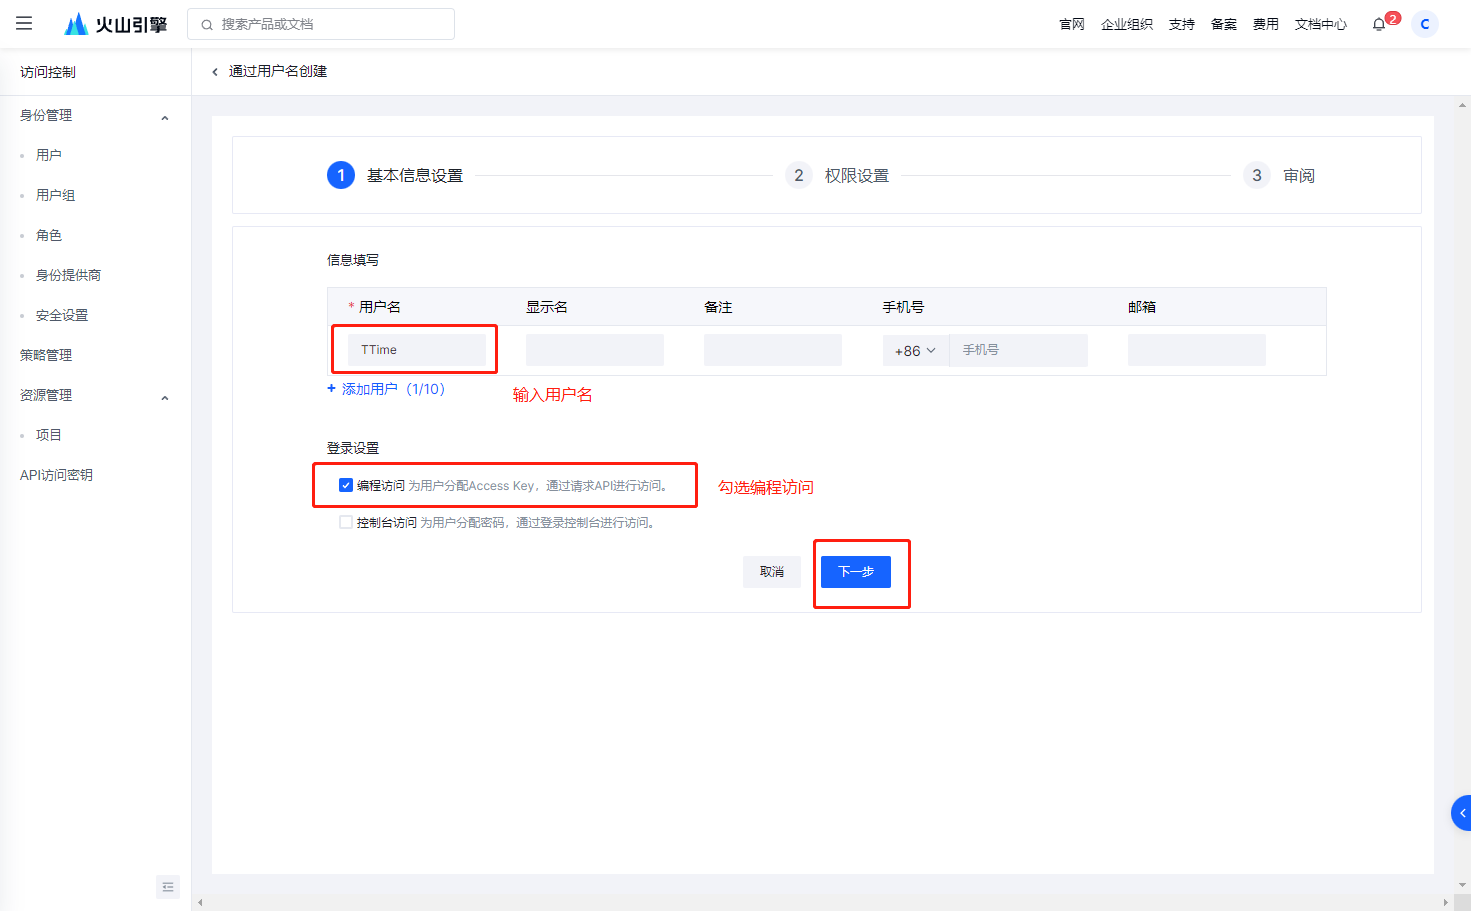
The user name can be customized. I will fill in TTime myself here.
Then check Programmatic Access
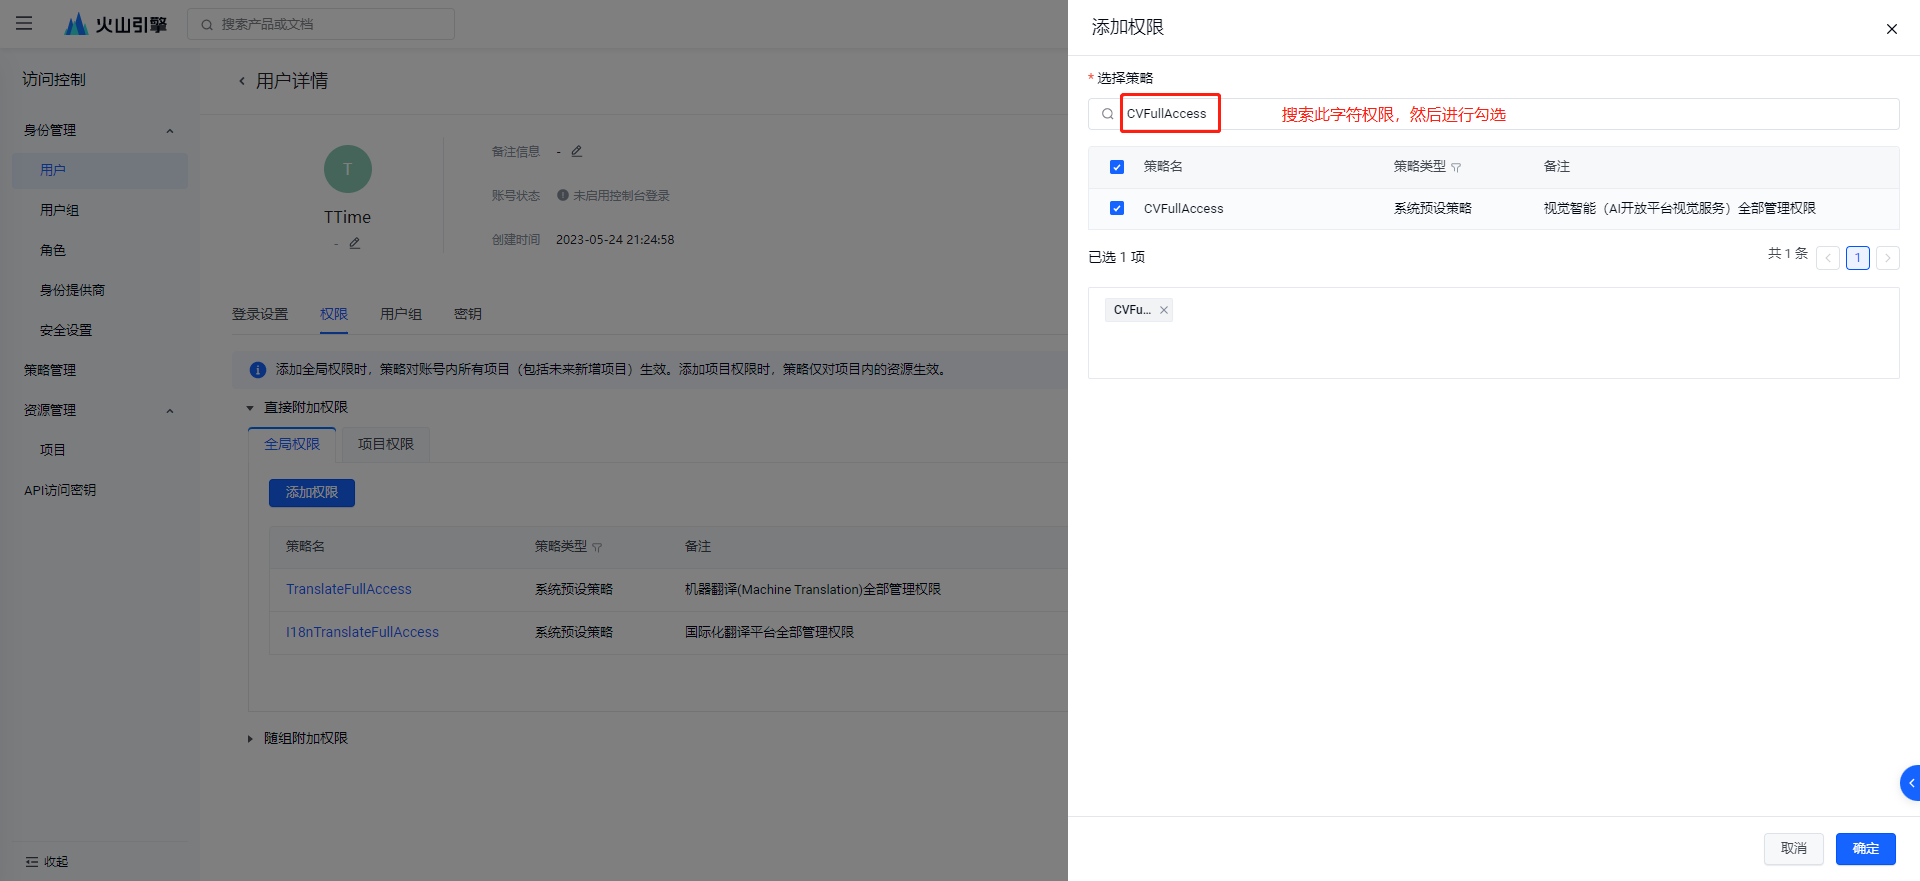
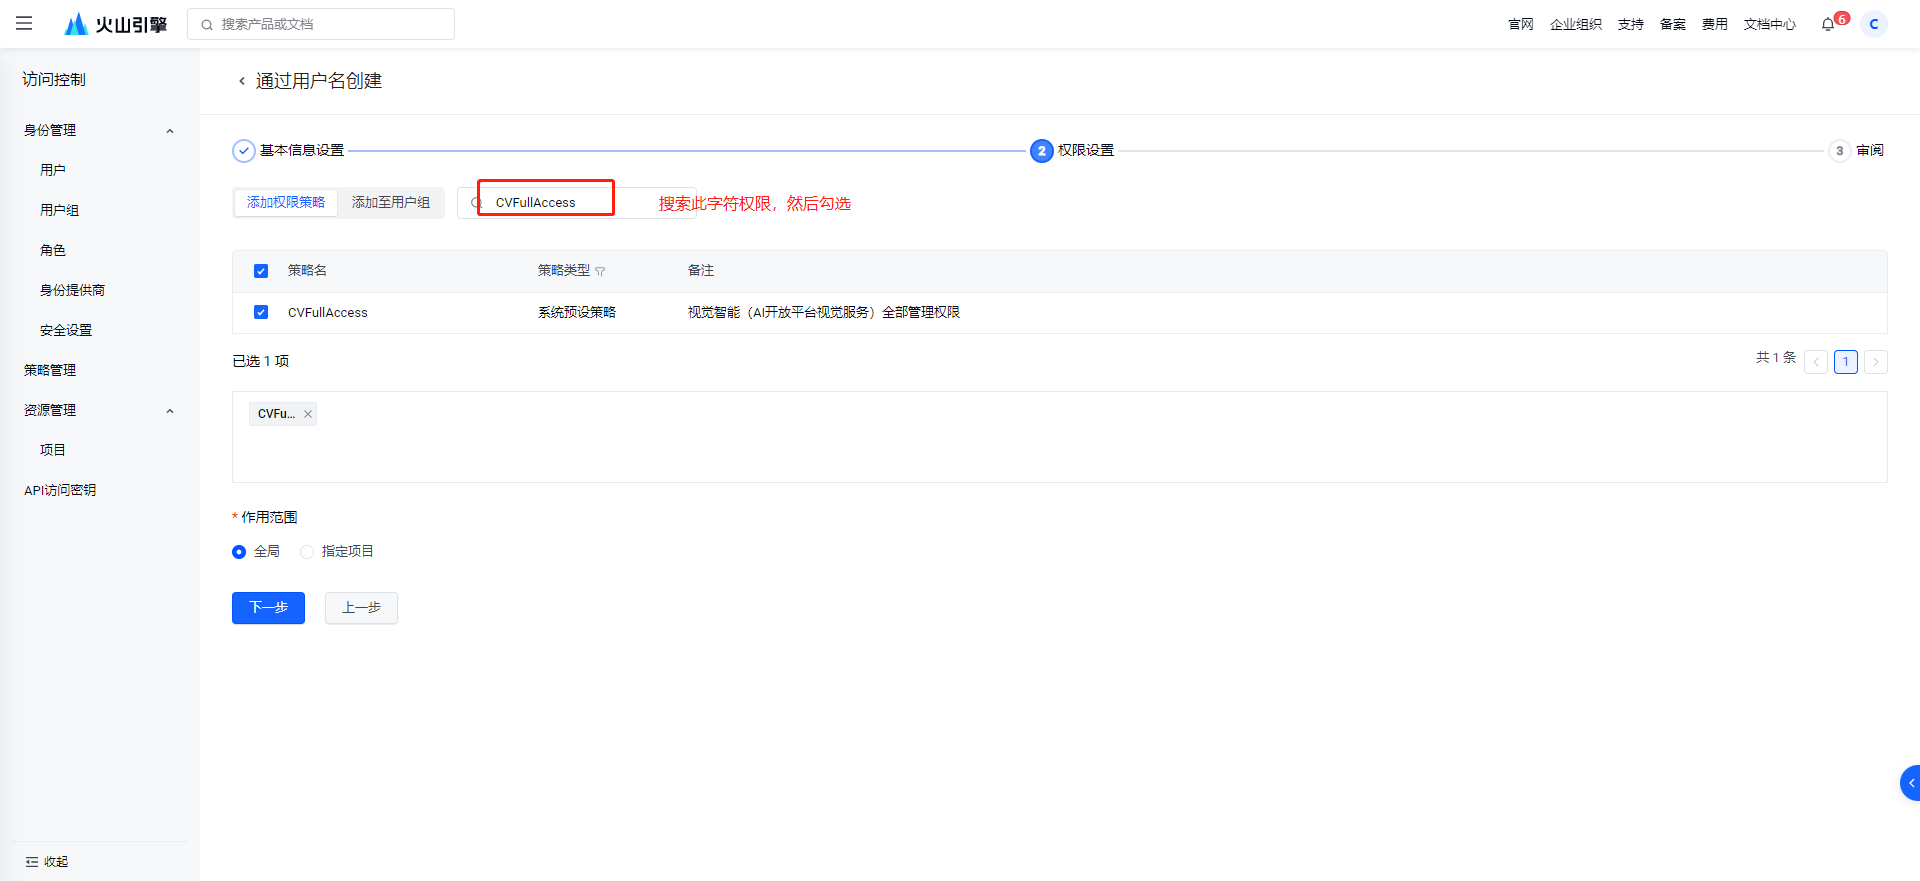
To set permissions, enter CVFullAccess in the search box
Then check the ones found in the search, as shown in the figure below
The scope I choose here is global
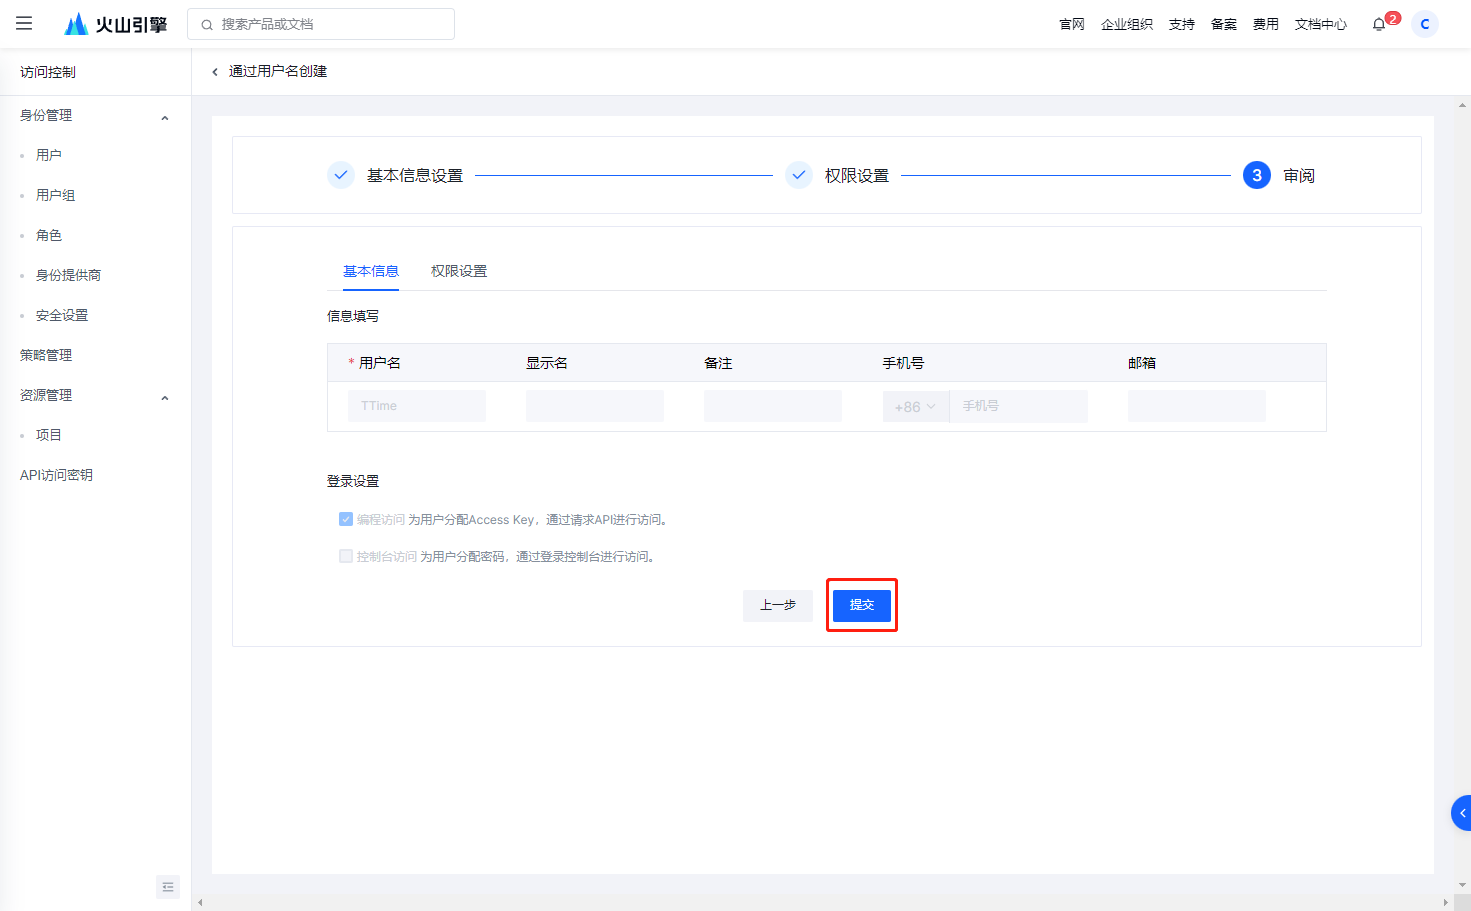
Confirm information and submit
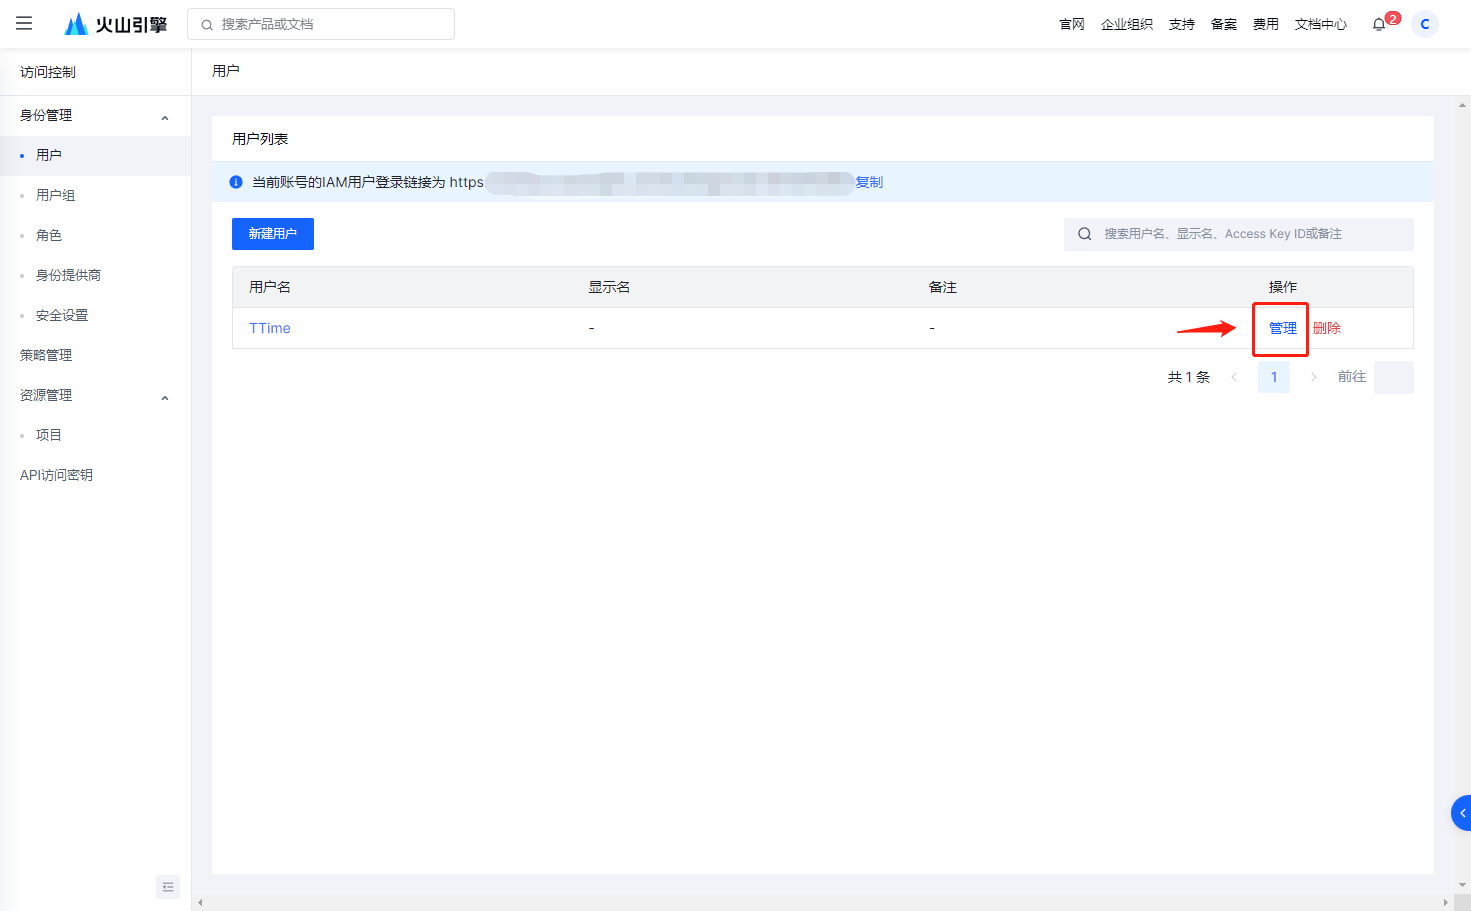
Click here to jump to the user management page
After jumping to this page again, select the user you just created and click Manage
Select key options
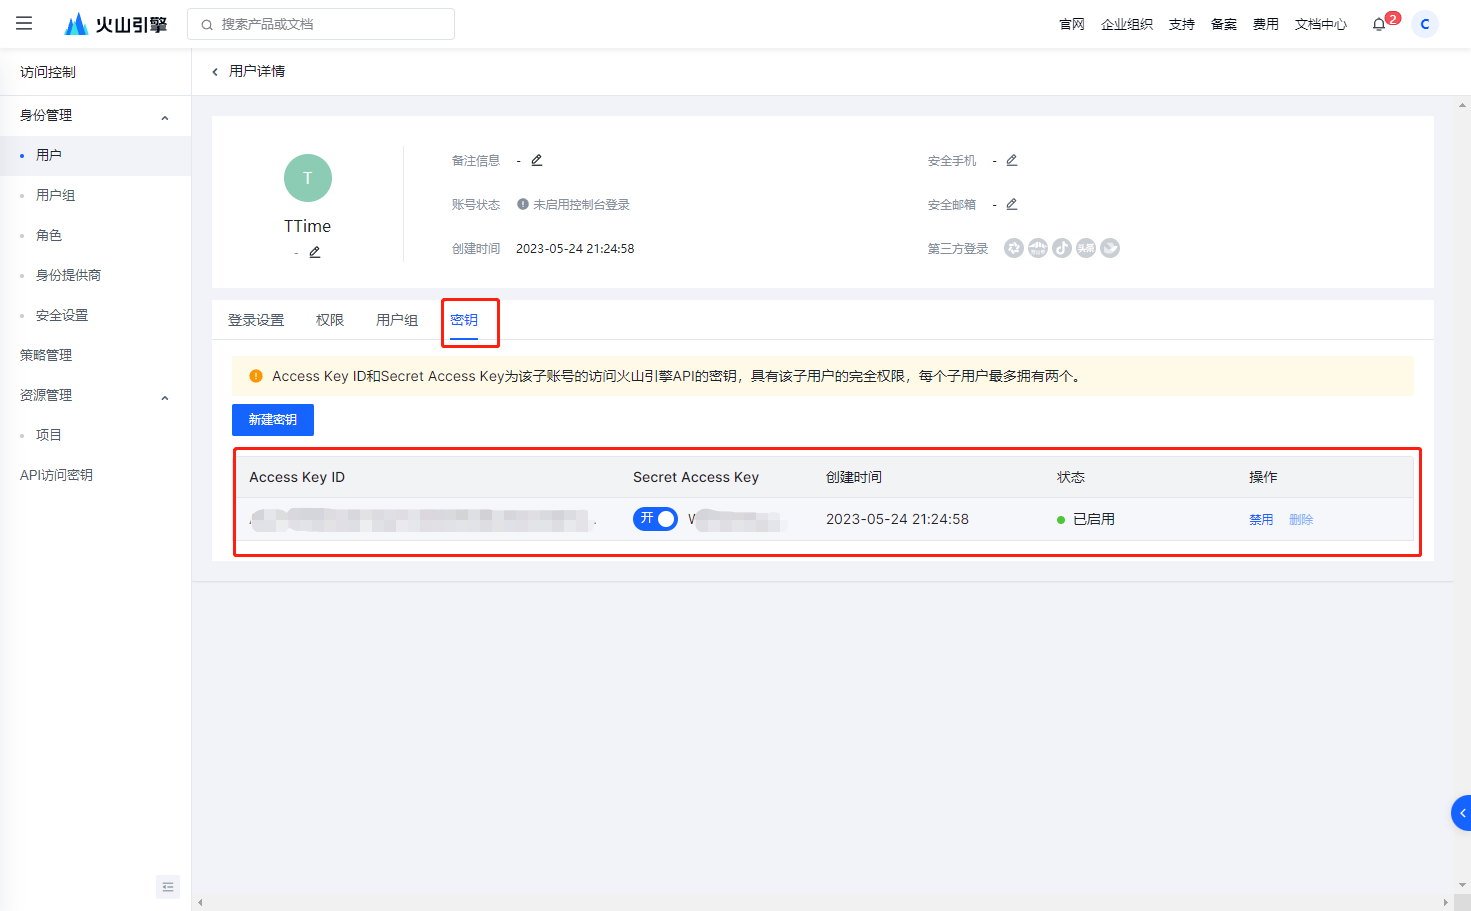
After obtaining the credentials, open TTime Settings, go to OCR Services, select Volcengine OCR, and enter the credentials
For setup instructions, see Configure OCR in TTime
Supplementary permissions
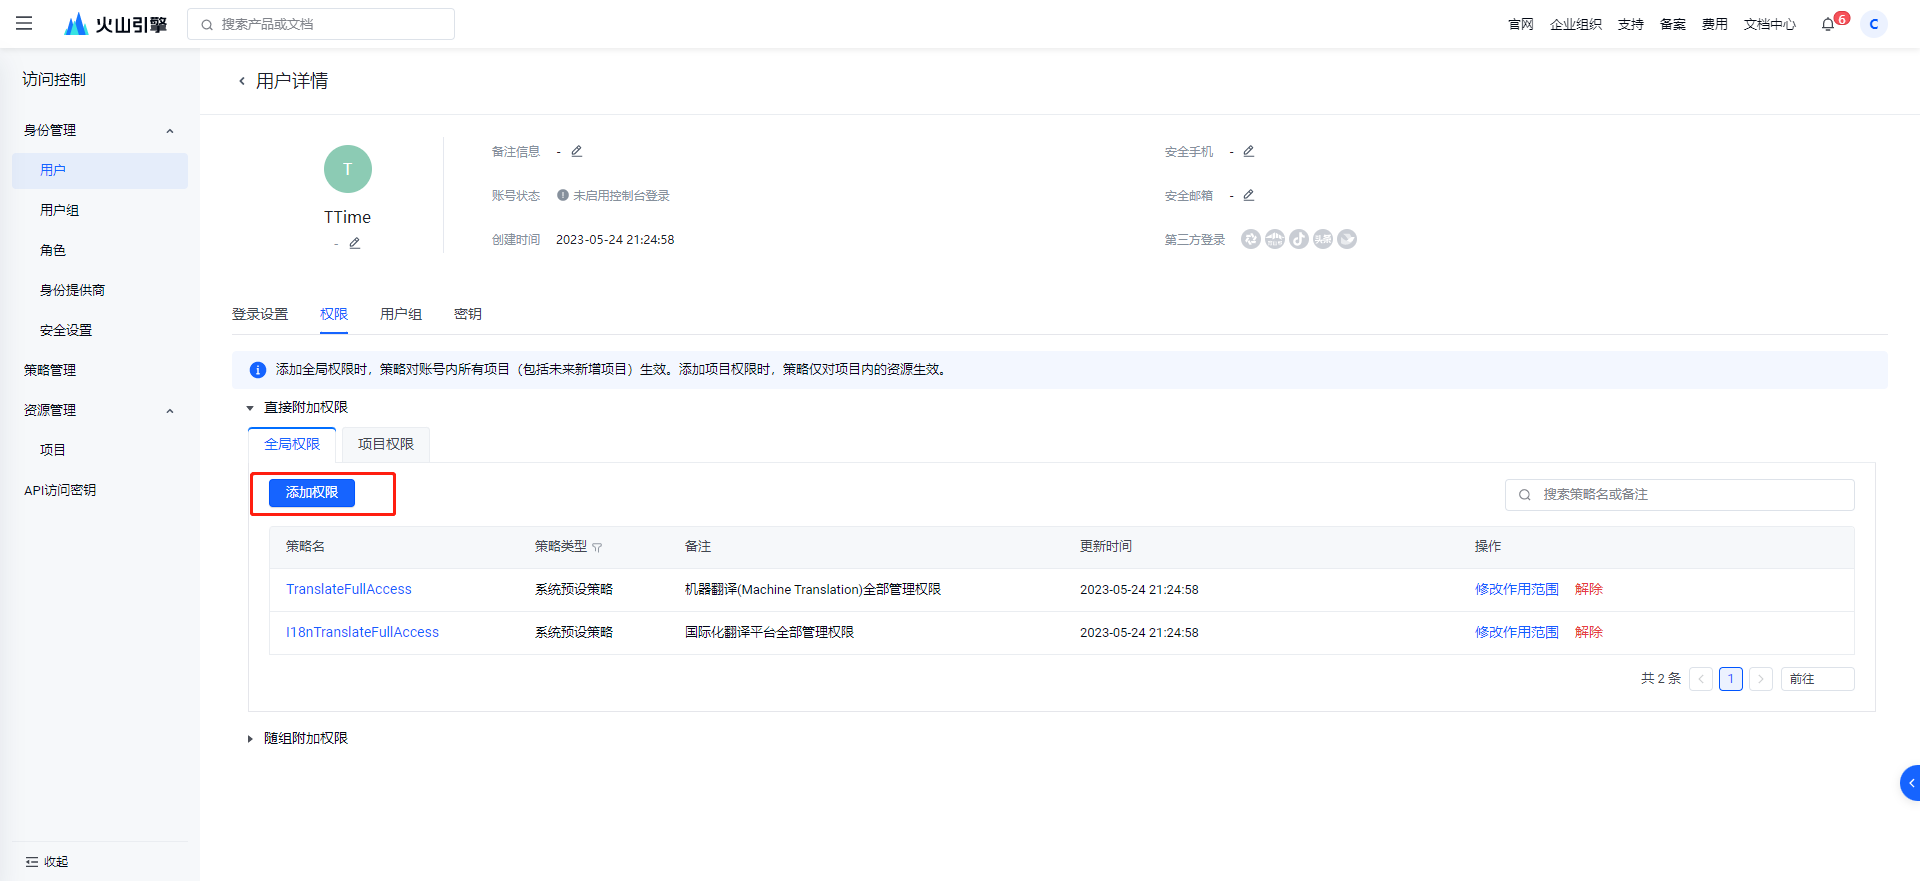
If you have already configured Volcengine Translation, you can reuse the existing user and add OCR permissions
Click here to jump to the user management page
Choose management first
Then select Permissions and click the Add Permissions button
To set permissions, enter CVFullAccess in the search box
Then check the ones found in the search, as shown in the figure below
Submit the changes when finished. The credentials are the same as those used for Volcengine Translation