Google Text Recognition
official website application address
https://console.cloud.google.com/apis/library/vision.googleapis.com?hl=zh-cn
Quota information As time goes by, the official website may change, this is for reference only, please refer to the official documents for details
Google Text Recognition - Official Document - Billing Overview
| Type | Free quota | Price beyond free quota | Number of simultaneous translations per minute |
|---|---|---|---|
| TEXT_DETECTION | Free 1000 times per month | USD 1.5/1000 times | 1800 times/minute |
Prerequisites for use
Before applying for and using Google Translate, you need to meet the following conditions
A Visa card that can be used for overseas payments (I use China Merchants Bank Visa card)
Scientific Internet Tools (required in China, otherwise Google services cannot be used)
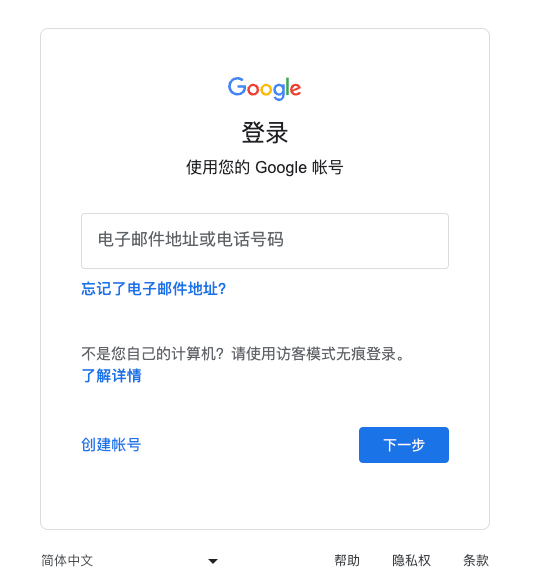
1. Log in to your Google account
If you already have an account, choose to log in, if not, register.
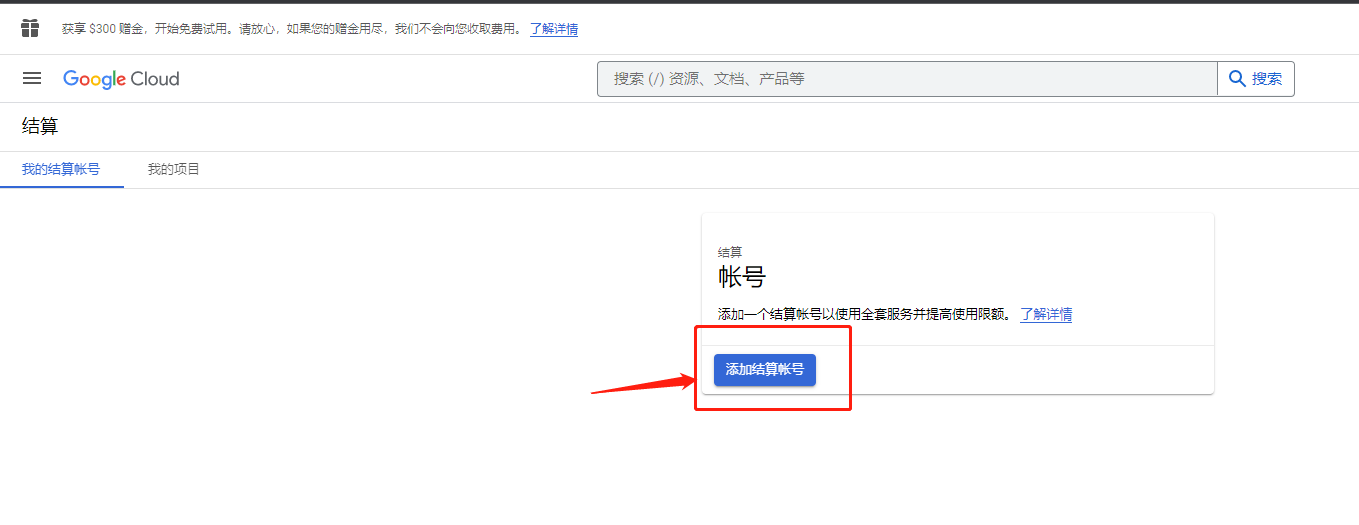
2. Set up settlement account
Click here to jump to setting up a billing account
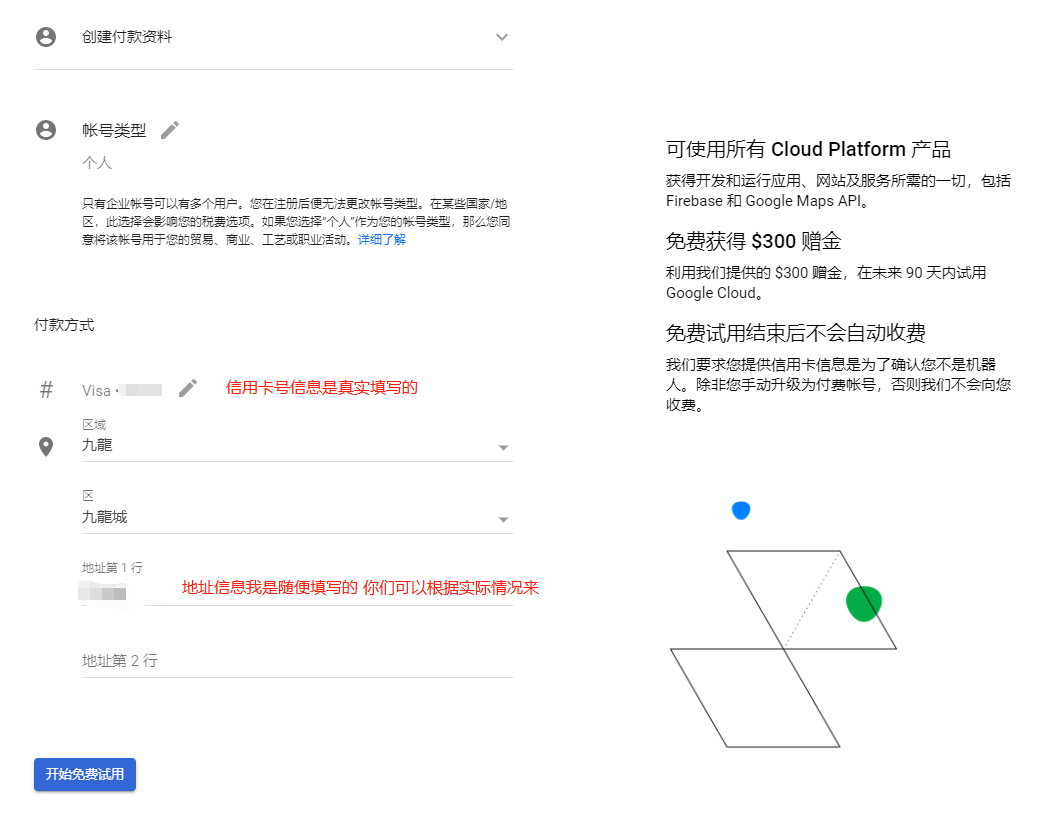
After entering the settlement account setting page, click Add settlement account
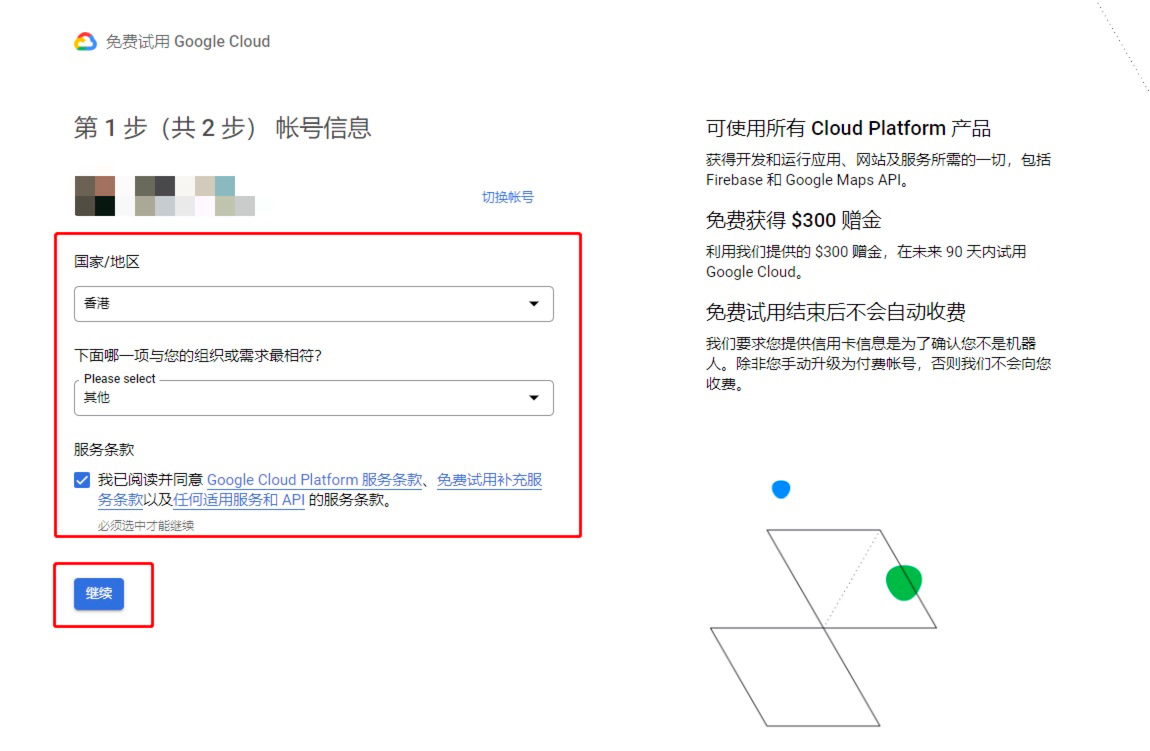
Fill in the account information. My area here is Hong Kong.
Select personal for account type
Fill in the payment information according to the information corresponding to the Visa card applied for previously.
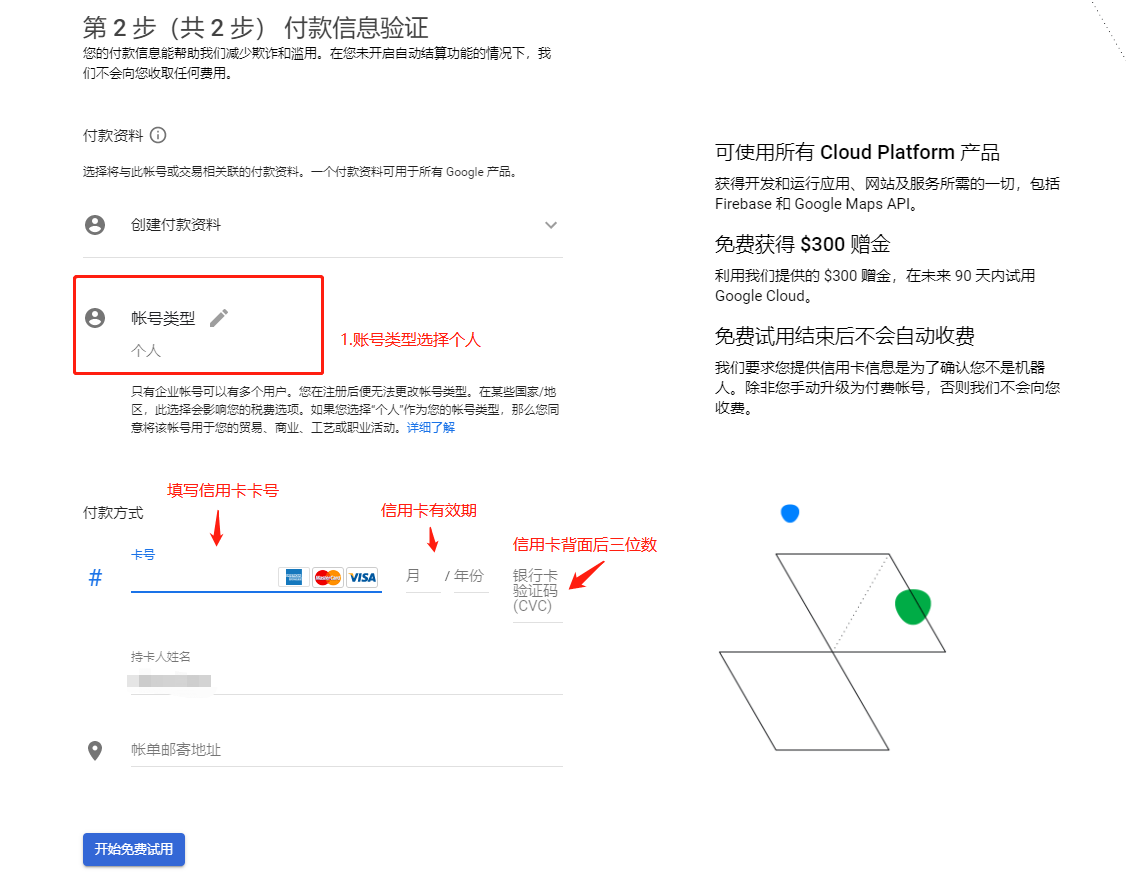
Finally, fill in the billing mailing address. I also filled it in directly according to the Hong Kong region selected above.
After completing the operation, click Start Free Trial
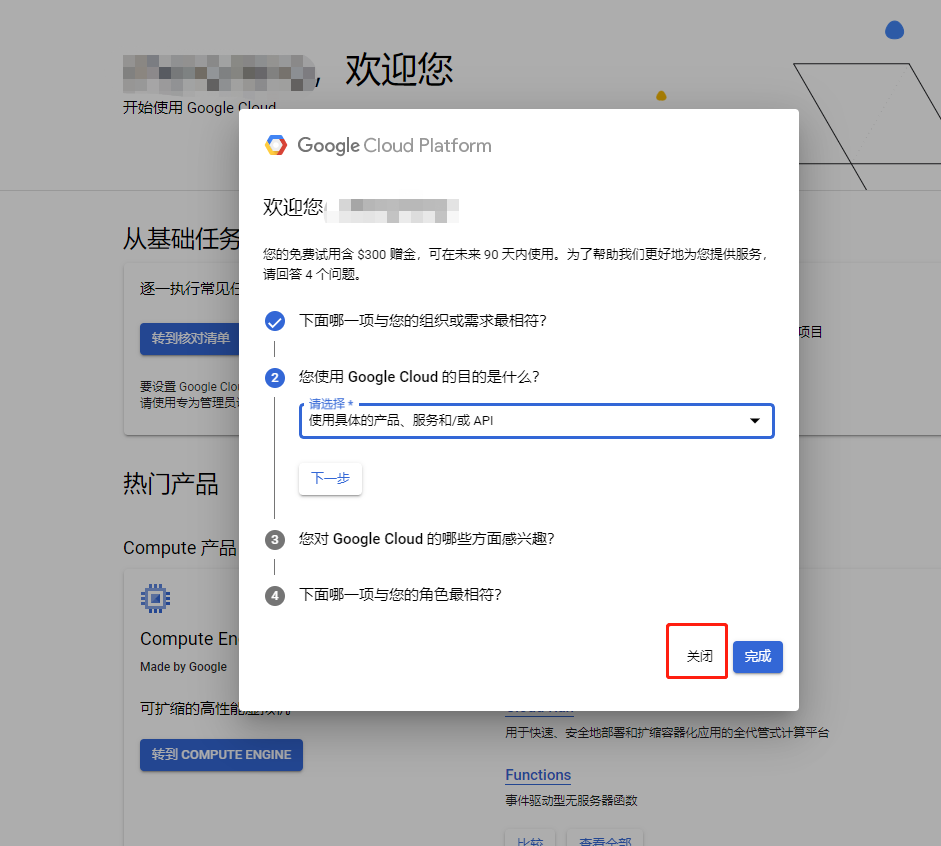
If this page pops up, just click to close it.
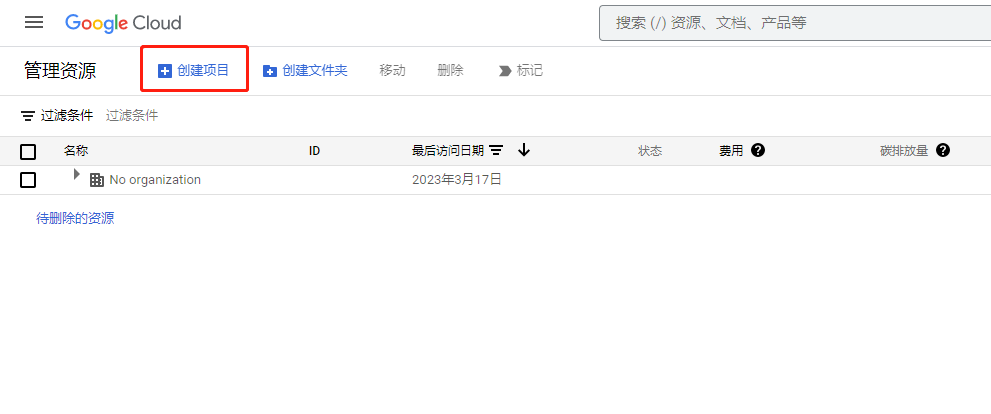
3. Create project
Click here to jump to the project creation page
Click Create Project
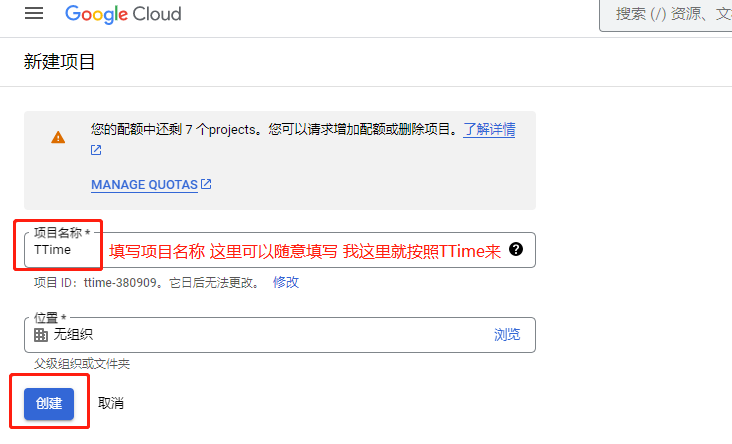
Fill in the project name. The name can be customized. Here I will fill in TTime by default.
Then click Create
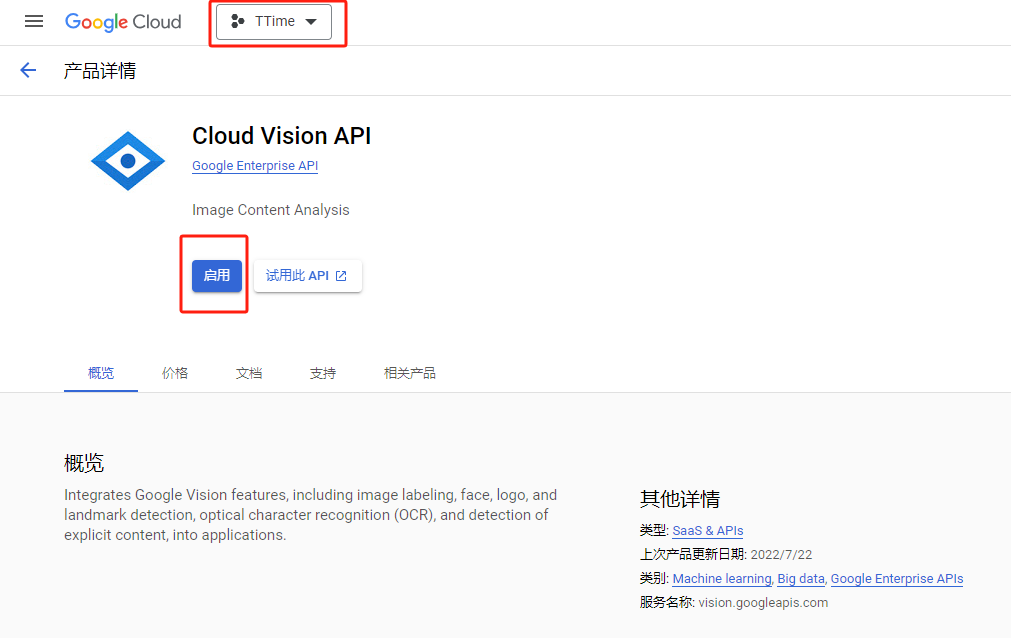
4. Enable text recognition
Click here to jump to the creation translation project page
Select the project you just created and click Enable
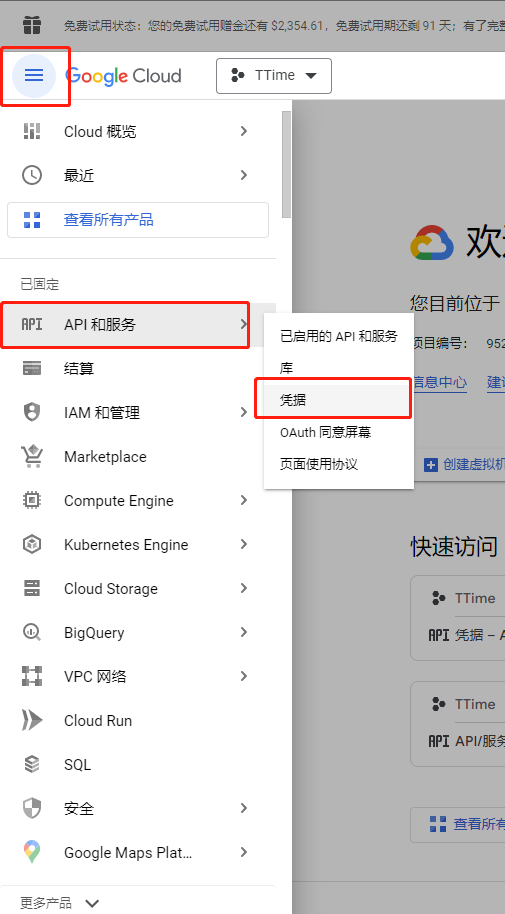
4. Get the key
First click on the icon in the upper left corner of the page
Select
API and ServicesSelect
Credentials
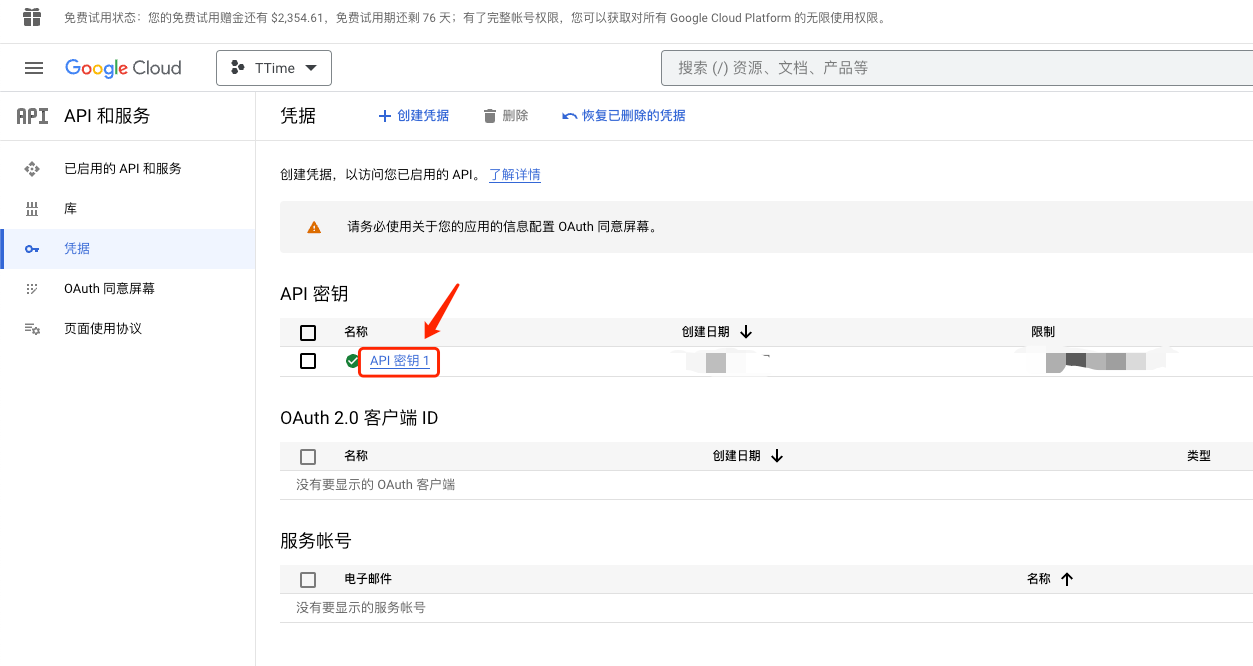
Check whether the corresponding project is created previously
Then click on Create Credentials -> API Key
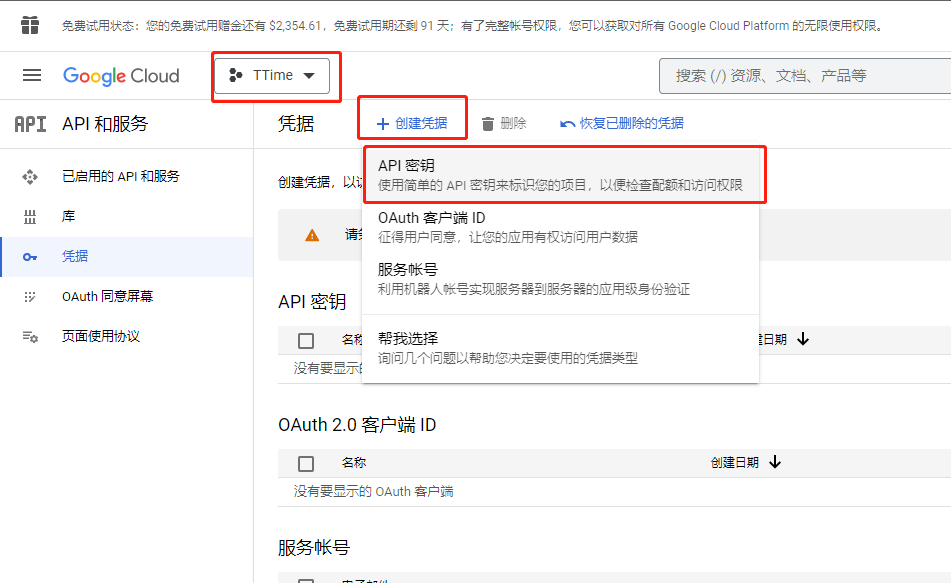
At this step, the key is created and saved first.
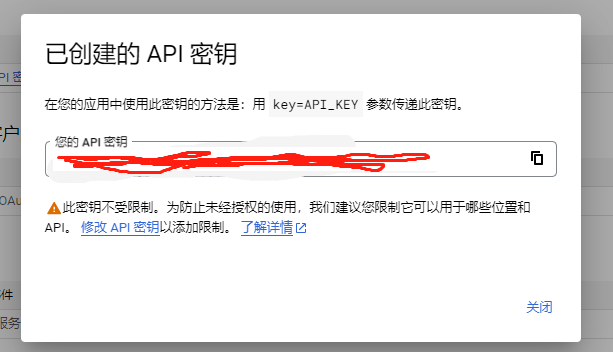
Click on the key name just created to enter the key setting page
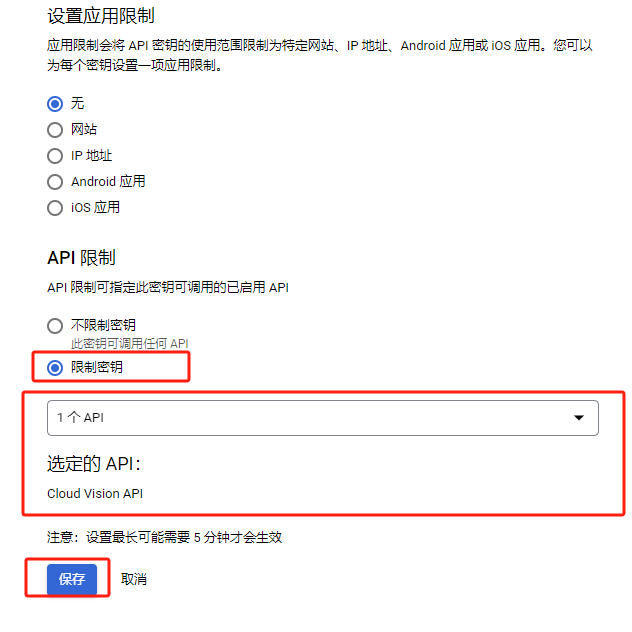
API Restrictions Select Restriction Key
Then select the Cloud Vision API text recognition permission in the list
Finally click Save
Now that the key is generated, directly copy the key information to open the setting page of TTime, then select the Text Recognition tab, select the corresponding text recognition Ocr, and fill in the key information.
If you don’t know how to configure it in the TTime settings page, please read this article TTime Set Text Recognition (OCR)